

How to Compress a Photo Under 200KB for Online Applications and ID Uploads (With Tested Settings)
Phone photos are often 3–4 MB, but application forms want 200 KB or less. Lowering the quality alone ruins the image and may still not get you there; resize first, then save as a JPEG at a sensible quality, and a 3.41 MB photo drops to 113 KB. Everything runs locally in your browser, with the real numbers at every step.
Play Image Compressor online
The short answer: a typical phone photo (4032 × 3024 pixels, 3.41 MB) only drops below 200 KB if you lower the JPEG quality all the way to 20%, and by then it visibly looks worse. Resize it to 1280 pixels wide first, then save it as a JPEG at 80% quality, and the same photo comes out at 113 KB with almost no visible difference. Below are the exact steps and the numbers we measured at each one. The Image Compressor and Image Resizer used here both work locally in your browser, so your photos are never uploaded.
Step 1: Read the upload requirements
Job portals, visa forms, exam registrations and government sites usually state three things. Check them before you start:
- File size: for example "no larger than 200 KB". Some also set a minimum, such as "at least 20 KB".
- Pixel dimensions or aspect ratio: ID photos often need a fixed size or ratio, such as a square or 3:4.
- Format: nearly always JPG/JPEG.
One detail that catches people out: sites don't agree on whether 1 KB is 1000 or 1024 bytes. The tools on this site count 1 KB as 1024 bytes. To be safe, aim for under 190 KB.
Why lowering the quality isn't enough
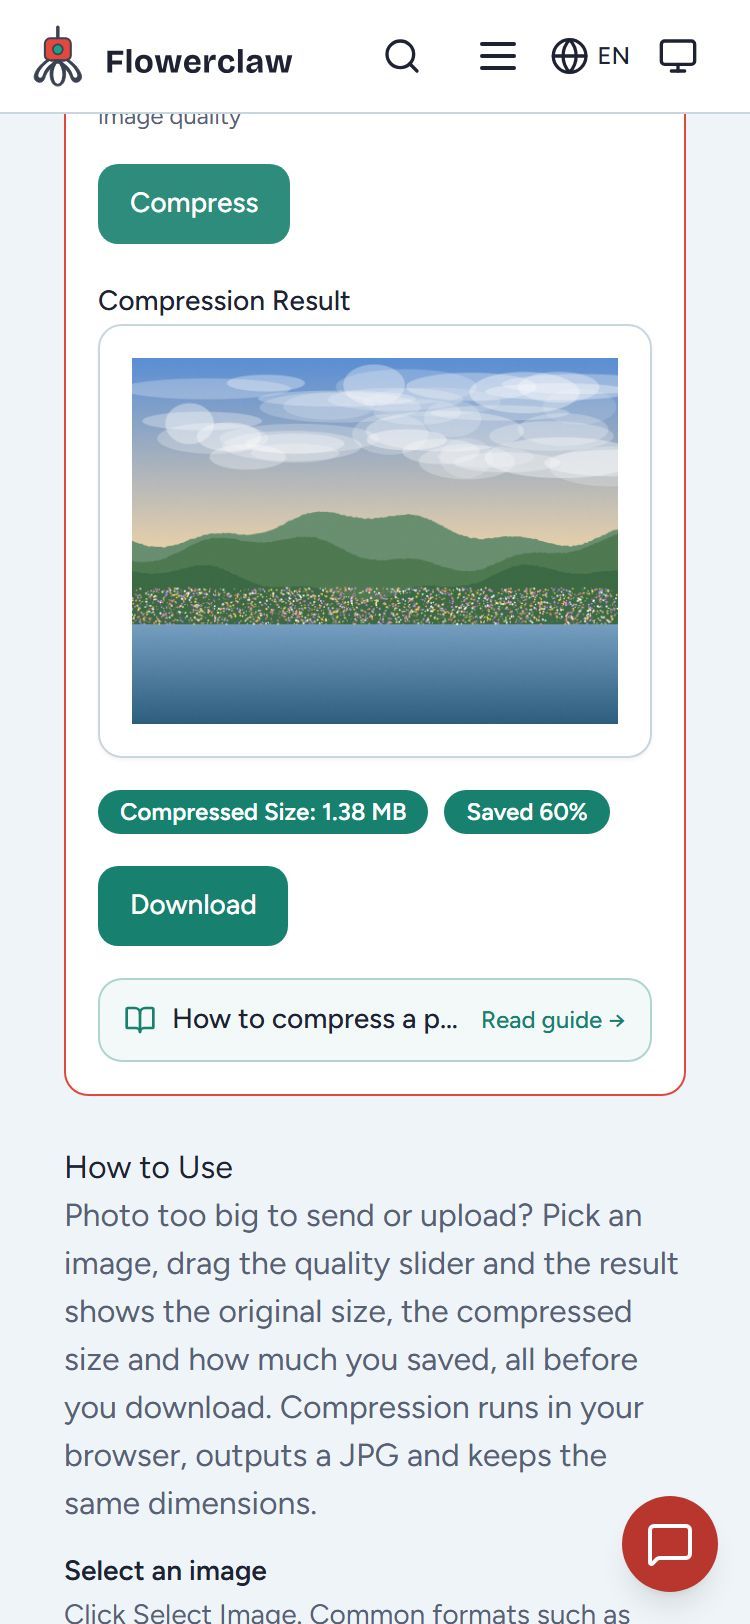
We took a 4032 × 3024 photo of 3.41 MB (the usual size from a 12-megapixel phone camera) and, in the Image Compressor, changed only the quality, not the dimensions:
| Quality | Compressed size | Under 200 KB? |
|---|---|---|
| 80% | 1.38 MB | No |
| 60% | 748 KB | No |
| 40% | 437 KB | No |
| 20% | 192 KB | Yes, but the image is clearly degraded |
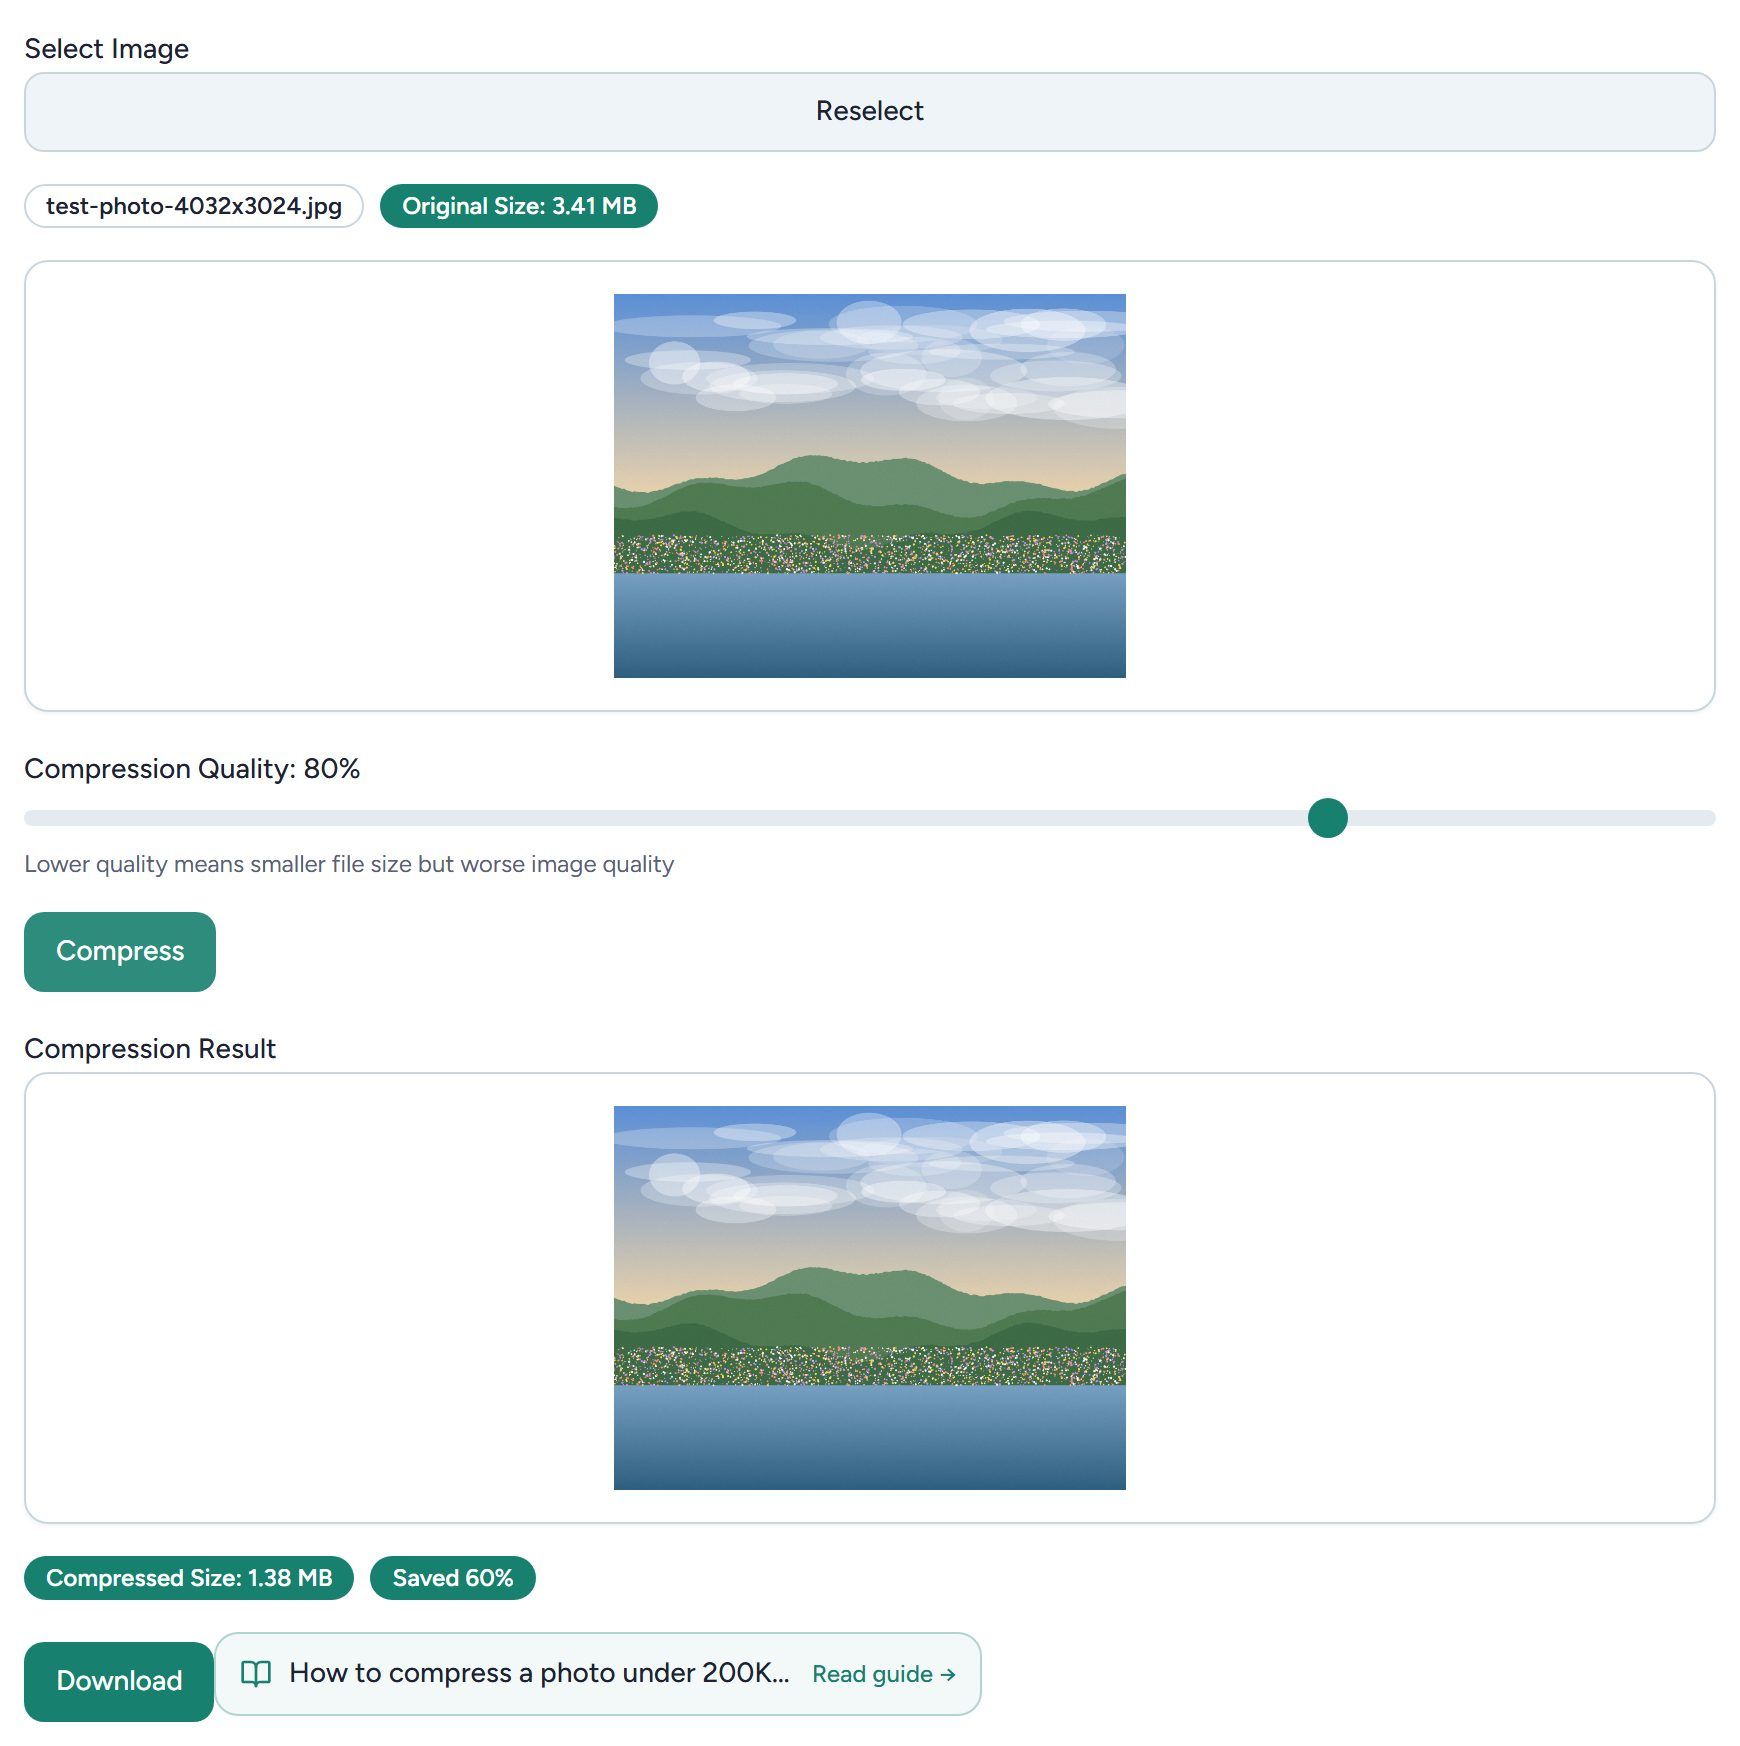
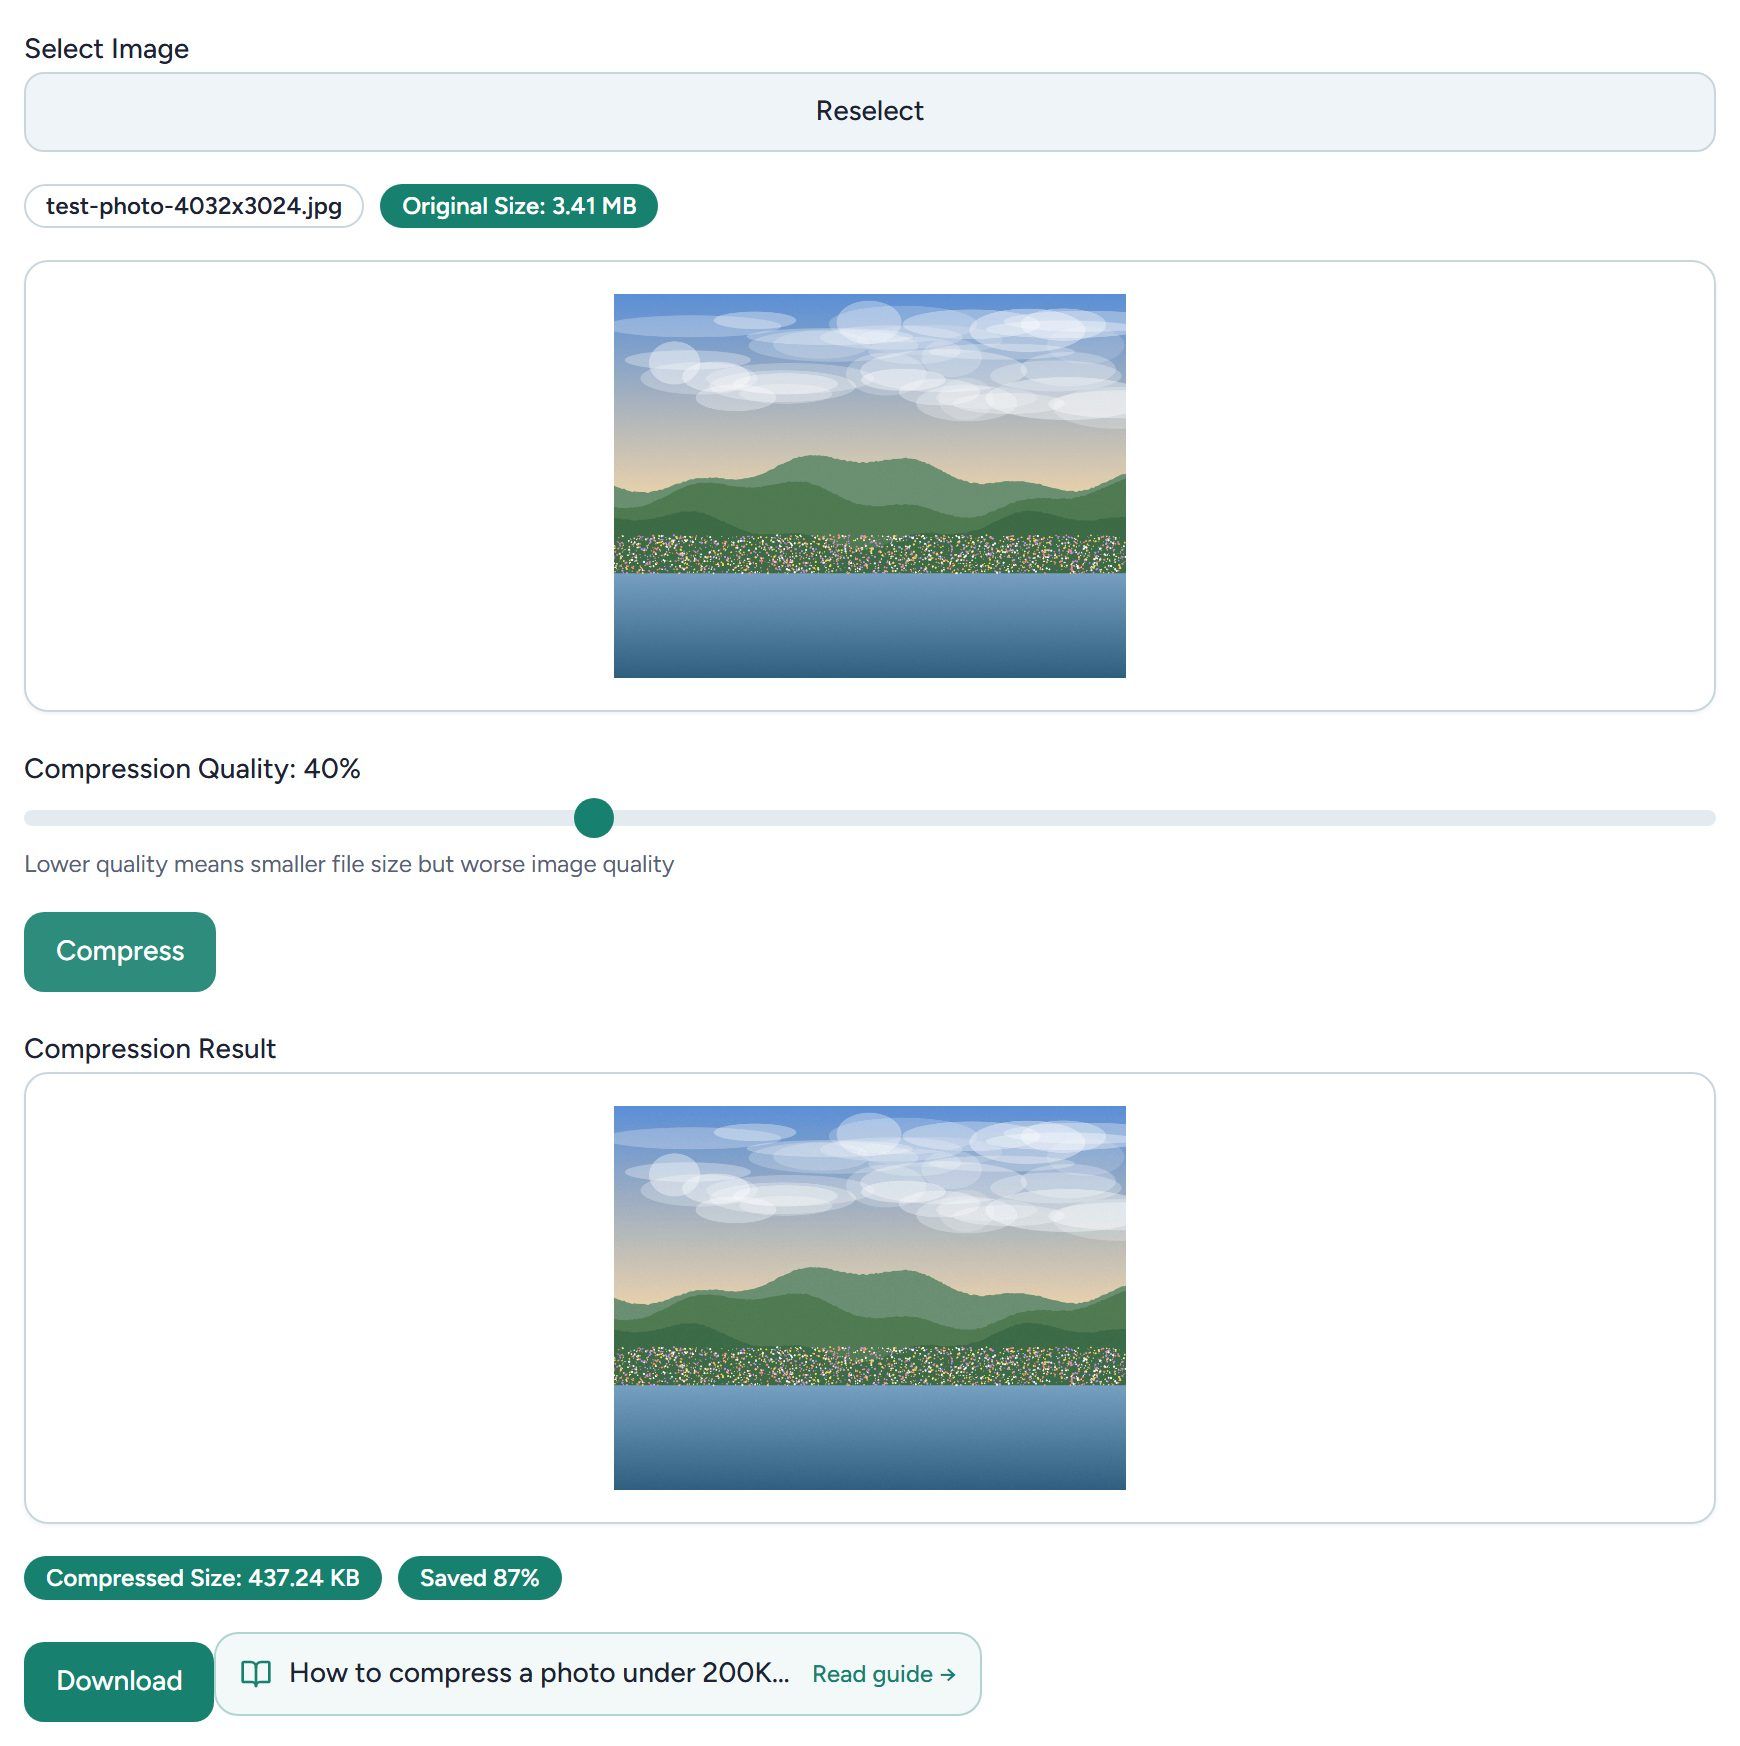
The reason is simple: file size depends mostly on the number of pixels. However low you set the quality, a 12-megapixel photo still has to store every one of its pixels. Yet an application photo or a profile picture is usually displayed just a few hundred pixels wide, so most of those pixels are wasted.
Step 2: Resize first, then compress moderately (recommended)
Open the Image Resizer and use these settings:
- Drop in or select your photo. The tool shows its original size (here 4032 × 3024, 3.41 MB).
- Tick Maintain aspect ratio and enter 1280 in Width (px); the height changes to 960 automatically.
- Set Output Format to JPEG. The default is PNG, and a photo saved as PNG actually gets bigger.
- Drag Quality to 80%.
- Click Resize. The new file size appears below; once it is under 200 KB, click Download Resized Image.
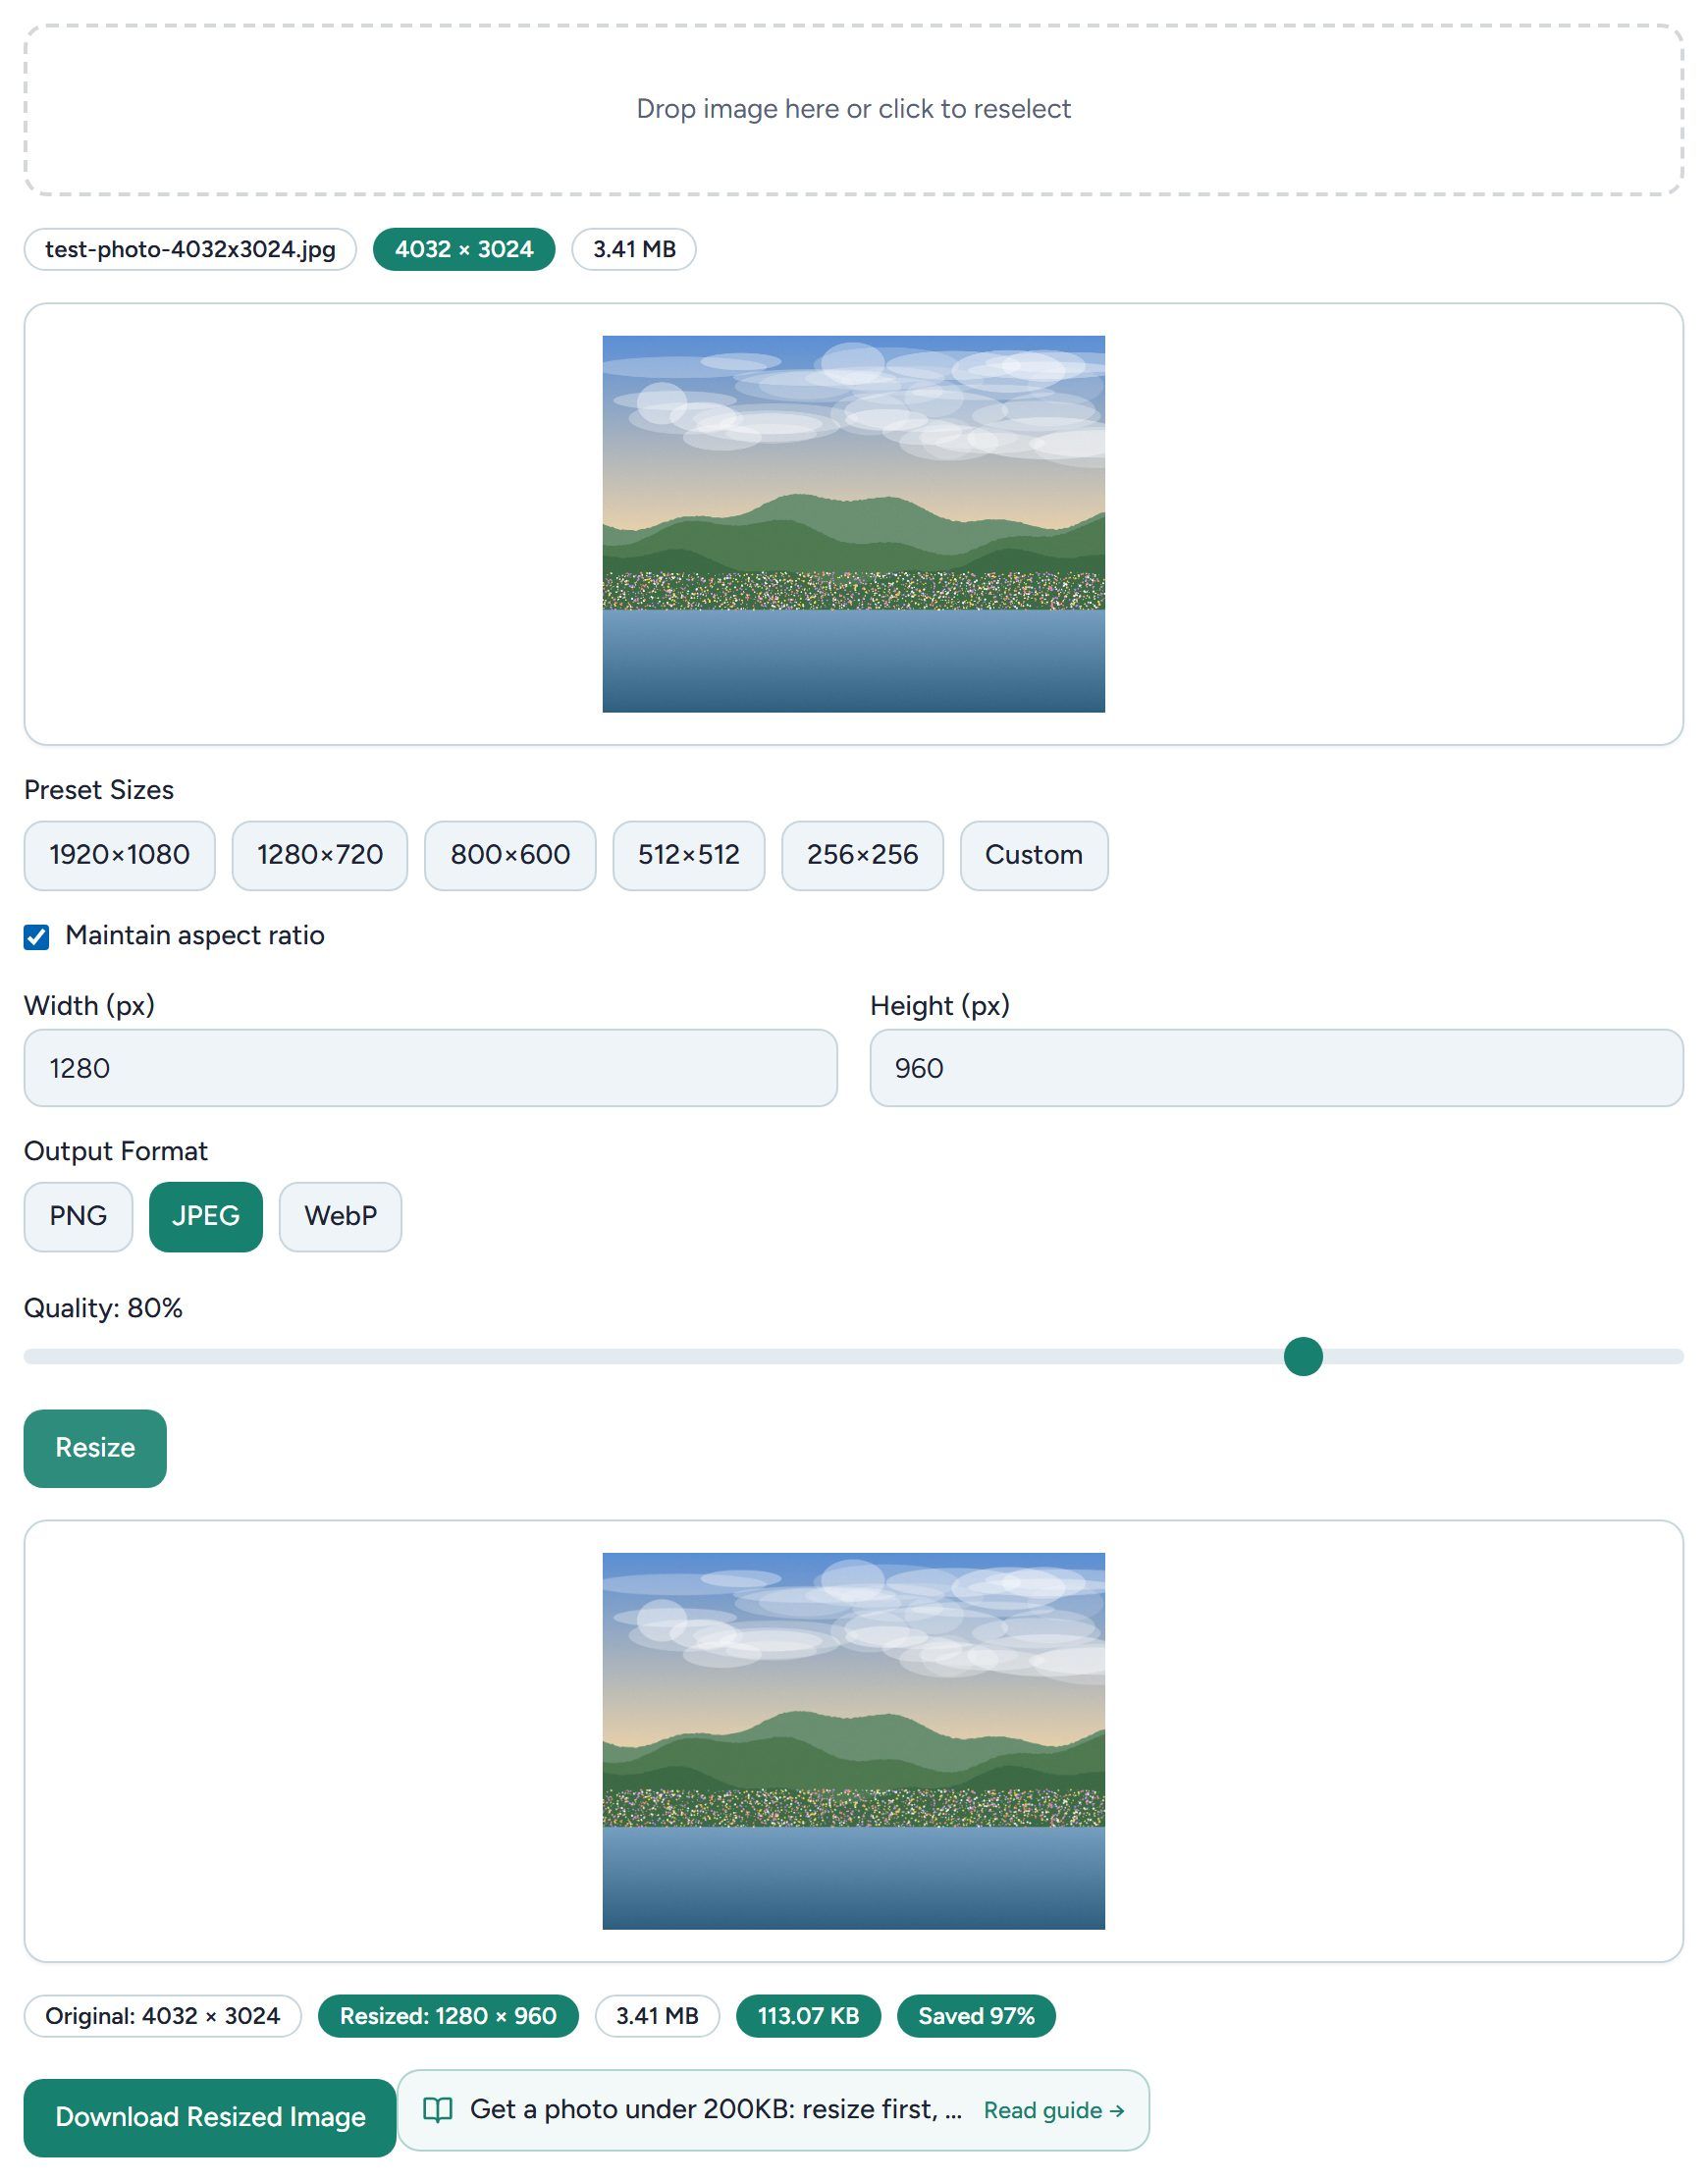
What we measured:
| Width × height | Format and quality | File size |
|---|---|---|
| 4032 × 3024 (original) | — | 3.41 MB |
| 1600 × 1200 | JPEG 80% | 163 KB |
| 1280 × 960 | JPEG 80% | 113 KB |
| 1080 × 810 | JPEG 80% | 88 KB |
| 800 × 600 | JPEG 80% | 45 KB |
We also checked the downloaded file: 1280 × 960 pixels and 115,780 bytes (113.1 KB), matching what the tool showed.
Still over 200 KB? (for example a landscape full of fine detail): first go down one width step (1280 → 1080 → 800), and only then try 70% quality. Reducing dimensions before quality loses the least detail.
ID and visa photos: crop the ratio first, then set the pixels
ID photos usually limit both the pixel size and the file size, so the order matters. A US visa photo for the DS-160 form, for instance, must be a square JPEG between 600 × 600 and 1200 × 1200 pixels and no larger than 240 KB, according to the State Department.
- In the Image Cropper, choose the Free ratio and frame your head and shoulders so the shape matches the requirement (square here).
- In the Image Resizer, enter the required width, for example 600, and check that the height matches. If it is off by a pixel or two, untick Maintain aspect ratio and type the height in yourself.
- Save as JPEG at 80–90% quality. At sizes this small the file is usually only a few dozen KB, so the size limit is rarely the problem.
Some forms also limit how hard you may compress. The US visa rules cap compression at 20:1, which for a 600 × 600 image means a floor of roughly 54 KB, so don't squeeze an ID photo further than you need to.
If you skip the crop and force a 4:3 photo straight into a square or portrait size, your face will be stretched or squashed.
Transparent PNGs: use the resizer, not the compressor
The Image Compressor always outputs JPG, and JPG has no transparency. We ran a transparent signature PNG through it: the transparent areas came out solid white.
So:
- Photos (which have no transparent areas anyway): either the compressor or the resizer is fine.
- Transparent PNGs (signatures, logos, cut-out images): use the Image Resizer to scale them down and choose PNG or WebP as the output format, which keeps the transparent background. To switch formats, you can also use the Image Converter.
On your phone
Both tools work in a mobile browser. We tested on a 375-pixel-wide phone screen, and resizing to 1280 px wide again gave about 113 KB. Pick the photo, tap Compress or Resize, and the new size appears below the result.
Privacy
Compression and resizing both happen in your browser; your photos are not uploaded to a server. That matters for ID photos, passports and other sensitive images.
FAQ
Can I get it under 100 KB? Yes. With the same photo, 1080 px wide at JPEG 80% was 88 KB, and 800 px wide was 45 KB. If a form asks for under 50 KB, 800 pixels wide is usually enough.
Will the photo look blurry afterwards? Making it smaller is almost invisible on phone and computer screens. What really hurts quality is a very low setting such as 20%, which causes blocky patches and ragged edges.
Why did my photo get bigger after compressing? Most likely it was saved as PNG. Choose JPEG for photos.
Try it now: open the Image Resizer, set the width to 1280, choose JPEG at 80% quality and see how small your photo gets.